Where you stand between shots matters more than how hard you hit. A heatmap of your match tells you exactly where you're spending your time on court — and four specific patterns show up again and again in players who aren't improving.
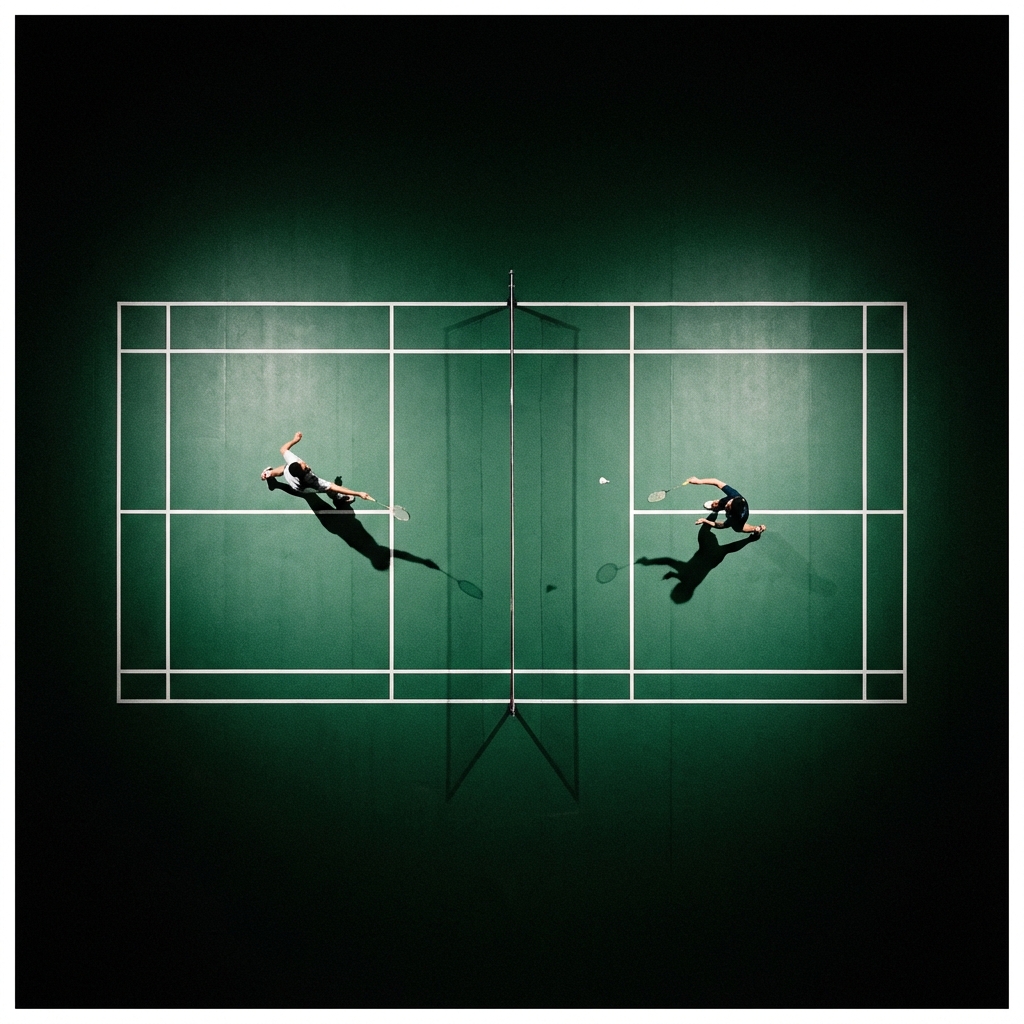
Court coverage is one of those badminton concepts that coaches talk about constantly and players mostly ignore. It's hard to see, hard to measure, and doesn't feel as important as technique or shot selection. But look at any match between a top player and a club player and the difference is obvious the moment you ignore the shuttle and just watch their feet.
The top player is rarely out of position. The club player is rarely in position. That single difference is what makes the match feel effortless on one side and desperate on the other.
What court coverage actually means
Court coverage is the combination of two things: where you move to reach shuttles, and where you recover to between shots. A good coverage pattern looks like a starburst — you spend most of your time at or near the base position, with brief excursions out to the six corners to play shots and immediate return to the centre.
A heatmap visualises this. It's a colour-coded image of the court where hotter colours show the spots you spent the most time standing on. If you plot a whole match, four patterns tend to emerge — and each one reveals a specific weakness.
Pattern 1: The starburst (healthy coverage)
A well-balanced player's heatmap shows a hot centre (the base position) with roughly symmetric warm zones radiating out toward each corner. The hottest single spot is just behind the T-junction, and the rest of the court gets progressively cooler as you move away from base.
This is what good looks like. If your heatmap looks like this, you're recovering well, maintaining base position, and covering the court efficiently. Your work is in other areas — technique, shot selection, stamina.
Pattern 2: The drift (no recovery)
The hot zone isn't at base position — it's displaced forward, backward, or to one side. This means you're not recovering properly after shots. You're drifting wherever your last shot took you.
Common sub-patterns:
- Forward drift: you play drops and net shots and then camp at the front. Your opponent now has the entire back court to attack.
- Backward drift: you play clears and then stand deep. Any drop from your opponent pulls you 7+ metres forward from cold.
- Side drift: you're dominant on one side of the court (usually the forehand side) and let the other side get cold. Opponents exploit this within two rallies.
The fix: conscious recovery drill. For two weeks, every training session, explicitly think "hit, move" on every shot. Recovery is a habit that has to be built. Once it's automatic, your heatmap recentres.
Pattern 3: The gap (dead zones)
A heatmap with an obvious cold spot in an area you should be covering — like a mid-court gap, or a rear-court corner. The player isn't reaching that zone, either because their footwork can't get there fast enough or because they're avoiding it.
Common dead zones:
- Back-left corner (for right-handers): the backhand rear. Weak backhand clears mean players avoid this corner and try to cover it with their forehand, which creates a round-the-head pattern that's exploitable.
- Mid-court: the dreaded "no man's land" between front and rear. If you have a mid-court dead zone, opponents with good push shots will destroy you.
- Front corners: arrive-late zones. You're not committing to the front on drops, so the corners of the net become free points for your opponent.
The fix: the dead zone is revealing a specific footwork or shot weakness. Pick the corner, drill the footwork pattern to reach it, and drill the shots you'd play from there. A back-left dead zone needs backhand clear drills. A mid-court dead zone needs chasse footwork drills. Target the weakness directly.
Pattern 4: The over-commitment (everywhere but base)
A hot heatmap everywhere except the base position. You're running all over the court but never settling back to the centre. This is the pattern of a player who feels like they're working incredibly hard but losing points anyway — they're expending huge effort and covering the wrong ground.
This usually means one of two things:
- You're over-committing to shots. You move too far forward on a drop instead of just stepping in. You chase cross-courts across the full width instead of using your reach. Each commitment takes you further from base and makes the next recovery harder.
- You have no base position habit. You were never taught the principle of returning to centre, so you react to each shuttle in isolation rather than as part of a repeating pattern.
The fix: the shadow 6-corner drill with explicit return to base. Mark the base spot on the floor with tape. Every single rep, you must touch the base spot with your foot before the next rep starts. Two weeks of this rewires the habit.
How to build your own heatmap
You don't need fancy software to do basic coverage analysis. Here's a simple manual method:
- Record a match from elevated camera angle (back of court, ideally 2–3 metres up).
- Print a top-down diagram of the court.
- Watch the match at 2× speed and make a tick mark on the diagram roughly where you stand every 5 seconds.
- After 10 minutes of footage, count the tick marks per zone. The zones with the most ticks are your "hot" zones.
It's crude but it works. You'll see your pattern within 50 ticks.
The automated version is obviously easier — goSmash does this for every match video you upload, drawing a proper heatmap with pixel-level movement tracking. But the principle is the same either way: you're trying to see where your body spends its time, because that's where your game is being played.
What heatmaps won't tell you
Heatmaps are a diagnostic tool, not a verdict. They show where, not why. If your heatmap shows a left-side dead zone, that could mean:
- You have a weak backhand and avoid the corner.
- Your opponent never hit to that corner and you never needed to cover it.
- Your footwork pattern is faulty and you cover that corner inefficiently.
- You have a minor injury on that side and are compensating.
The heatmap surfaces the question. You still have to do the work of finding the answer — usually by rewatching specific rallies that ended with you in that zone.
The big picture
Court coverage is the skill that ties all other skills together. You can have beautiful technique, great shot selection, and excellent fitness — if your base position habits are broken, none of it matters because you'll never be balanced when you need to execute.
Build the habit of returning to base after every shot. Identify your dead zones and drill the footwork to reach them. Check your heatmap every month or two and watch it slowly converge toward the healthy starburst pattern. That's what progress actually looks like at this level of the game.
Get your heatmap automatically
Upload a match to goSmash and get an auto-generated court coverage heatmap in minutes. See your base position, dead zones, and drift patterns at a glance.
Get early access